
Installation
This page installs Vaultisse with Docker Compose on one machine and ends with you signed in. It takes about ten minutes. Making it reachable from the internet is a separate step, see Reverse proxy & HTTPS.
1. Get the files
Create a folder for Vaultisse and download the three files it needs:
mkdir vaultisse && cd vaultisse
mkdir -p assets/db
curl -O https://raw.githubusercontent.com/AlbertAmat/vaultisse/main/docker-compose.yml
curl -O https://raw.githubusercontent.com/AlbertAmat/vaultisse/main/.env.example
curl -o assets/db/databaseSchema.sql https://raw.githubusercontent.com/AlbertAmat/vaultisse/main/assets/db/databaseSchema.sql
Note: The database schema must end up at
assets/db/databaseSchema.sql, next to the compose file.docker-compose.ymlmounts it by that relative path, and the database container uses it to create the tables the first time it starts.
2. Create your settings file
cp .env.example .envOpen .env in a text editor. Four values matter for a first install:
| Setting | What to put |
|---|---|
JWT_SECRET | A long random string. Generate one with openssl rand -hex 32. It signs login sessions, so keep it private. |
DB_PASSWORD | A password of your choice for the database. Do not leave it empty. |
FRONT_END_URL | The address people will type in the browser. http://localhost:3000 if only this machine uses it. See below for other cases. |
ALLOW_DEV_AUTH | Leave it false. It skips the login screen and exists only for development. |
The right FRONT_END_URL depends on how people reach the server:
- Only this machine:
FRONT_END_URL=http://localhost:3000. - Other devices on your home network (a phone, a tablet): use the machine's network address, for example
FRONT_END_URL=http://192.168.1.50:3000, and also setALLOW_HTTP=true. Browsers forcehttps://on every link of a plain-HTTP site unless they know it is local, so without this setting the app loads but its links break. - A public address with HTTPS: see Reverse proxy & HTTPS.
Every other setting has a safe default. The full list is in the Configuration reference.
3. Start it
docker compose up -dThe first start downloads the images and creates the database, which can take a minute. Check that both containers are running:
docker compose psYou should see db as healthy and app as running. If app keeps restarting, run docker compose logs app, the message at the end usually names the setting that is missing. See Troubleshooting.
4. Create your account
Open FRONT_END_URL followed by /register, for example http://localhost:3000/register.
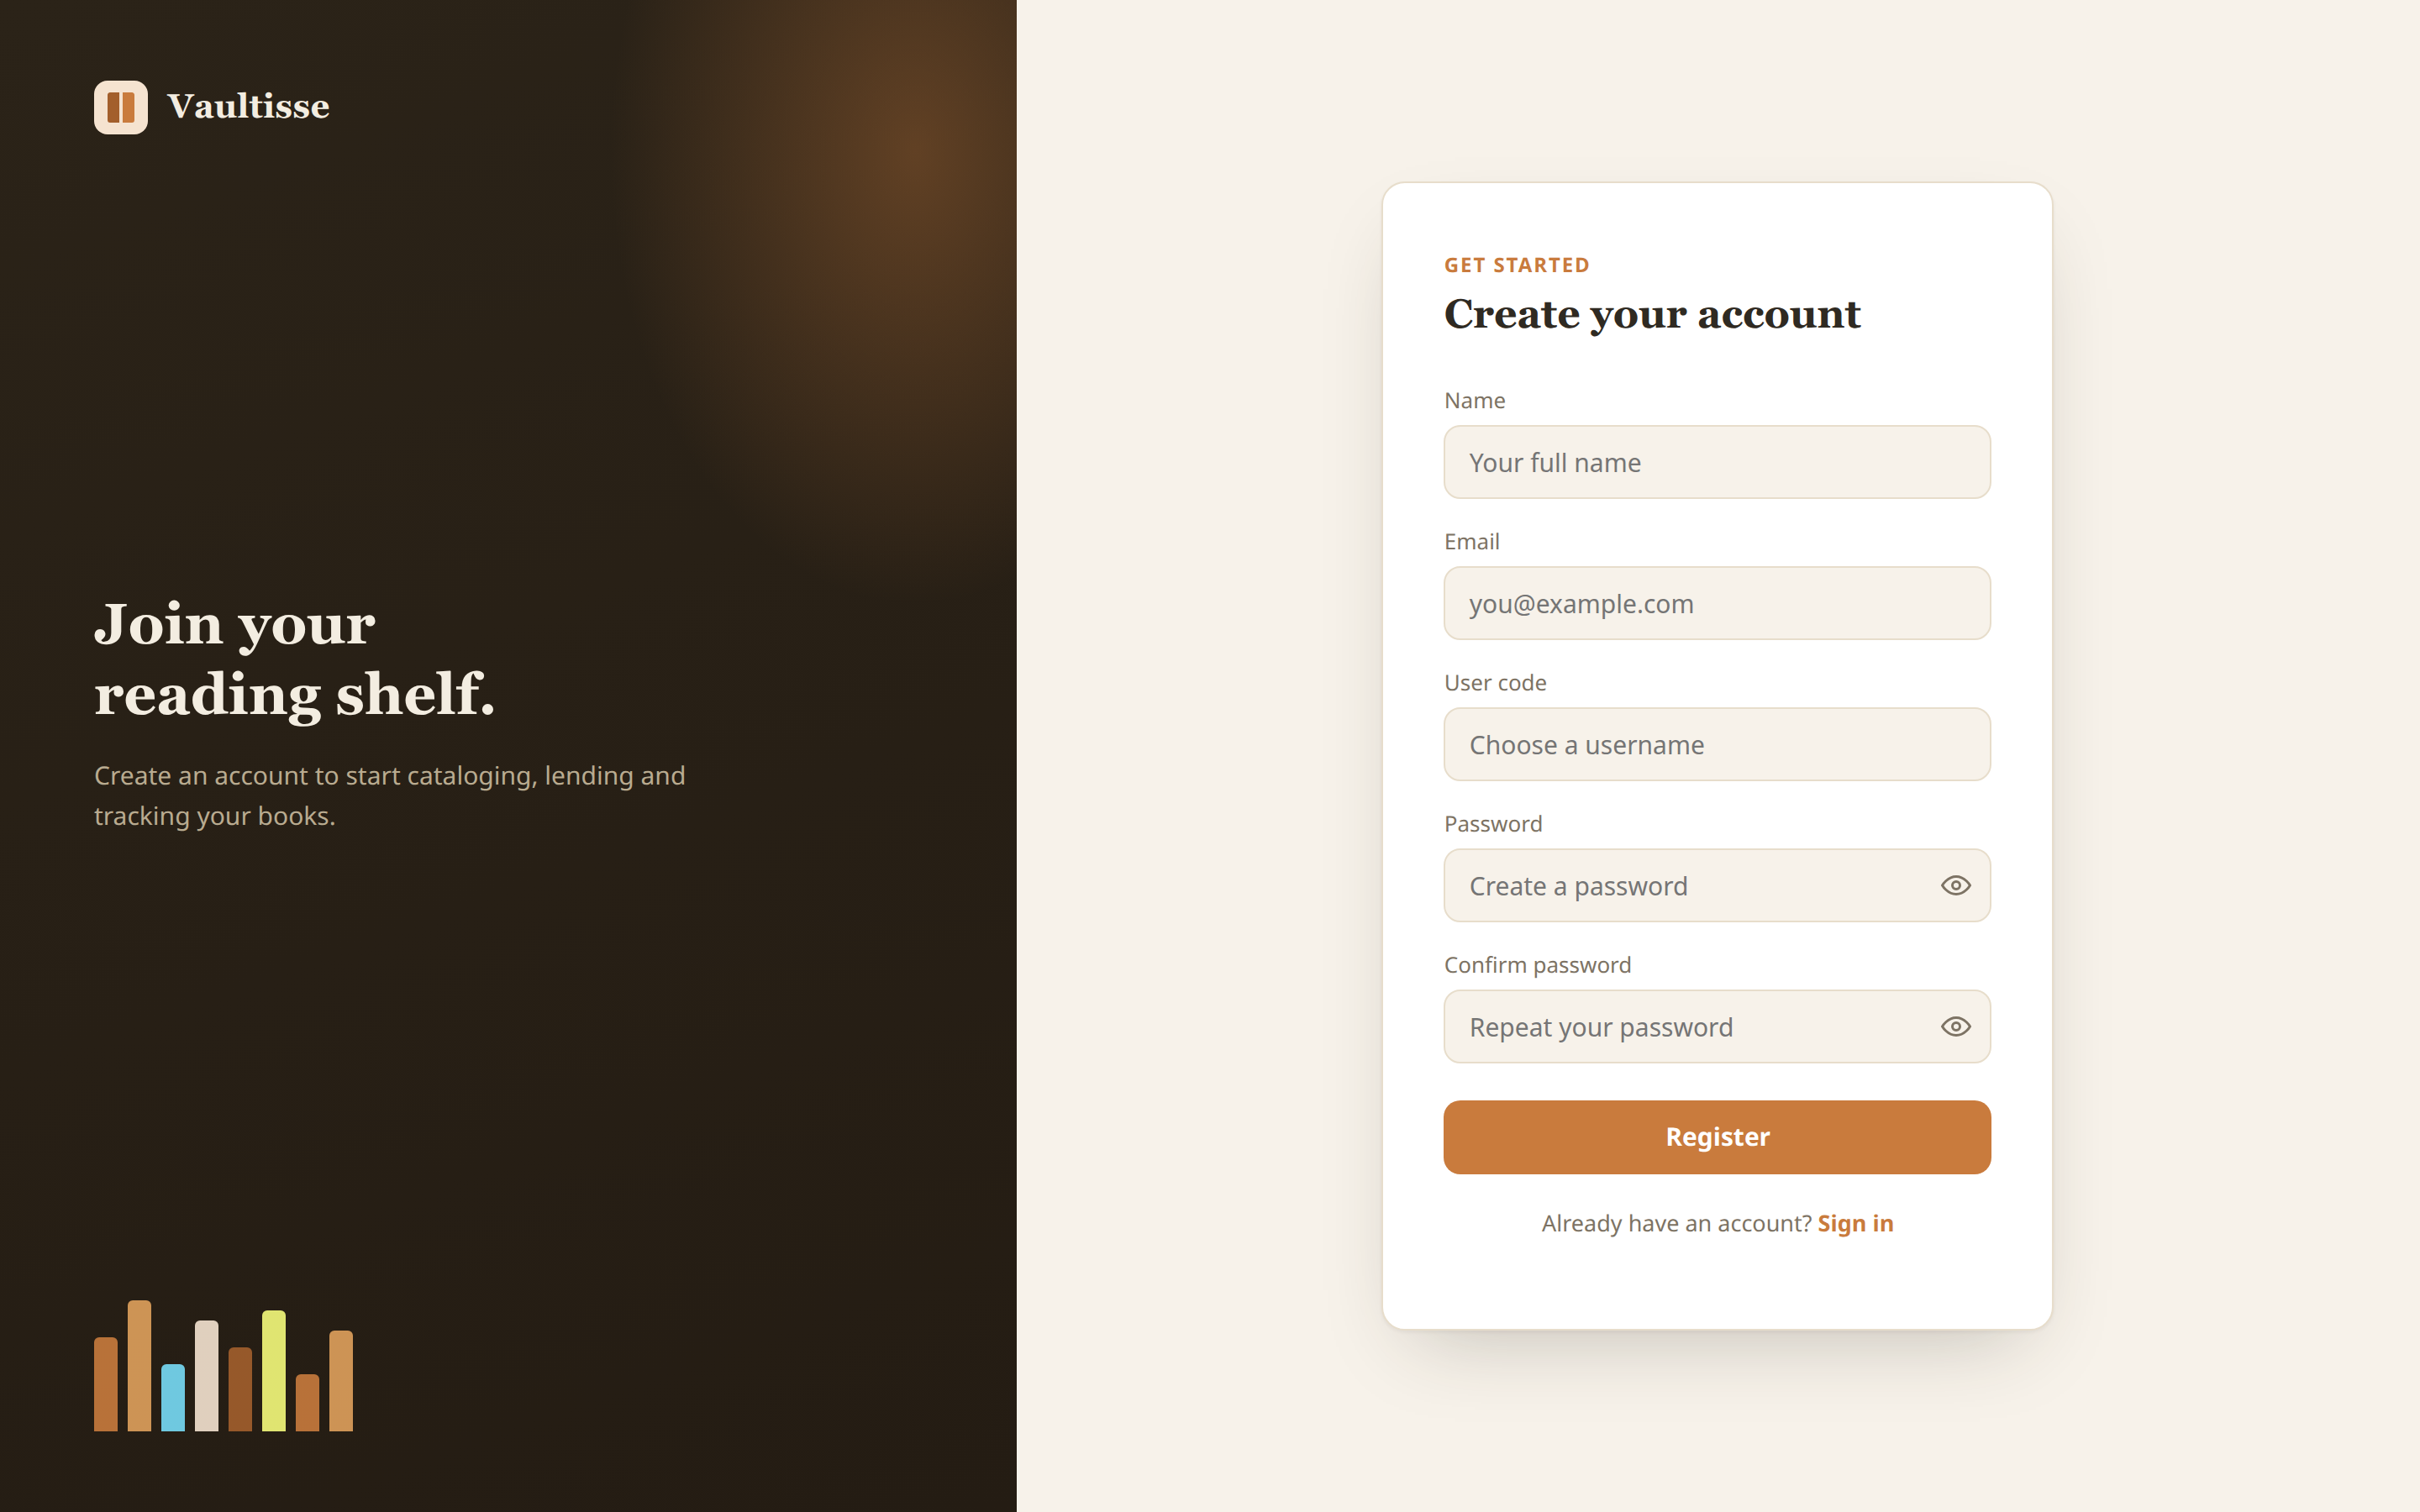
Fill in your details and click Register. The password needs at least 8 characters, with an uppercase letter, a digit and a special character. Then sign in.
There is no separate administrator account and no default password. The first person to register simply gets an ordinary account, and every account starts with its own library (a vault) that it administers. People can later be invited into each other's vaults, see Sharing a library & roles.

5. Decide who else can register
By default anyone who can reach /register can create an account. Once the people you need have registered, you can close it:
REGISTRATION_ENABLED=falseremoves the registration page completely. Nobody can create an account.REGISTRATION_REQUIRES_APPROVAL=truekeeps the page, but new accounts cannot sign in until you enable them. There is no admin screen for this yet, you do it in the database:bashdocker compose exec -T db psql -U postgres -d vaultisse \ -c "UPDATE users SET disabled = FALSE WHERE code = 'their-username';"Use your own
DB_USERandDB_NAMEif you changed them.
After changing .env, apply it with docker compose up -d. Compose recreates the container only when needed.
Tip: If you are going to use single sign-on, the identity provider decides who gets in, and these two settings do not apply to SSO sign-ins. See Single sign-on.
Where things are stored
| What | Where |
|---|---|
| All your data (books, loans, accounts) | The Docker volume db-data |
| The application log | The Docker volume app-logs, file bookStorage.log |
| Your settings | The .env file next to docker-compose.yml |
Do not delete the db-data volume, and never run docker compose down -v, which removes volumes along with the containers. See Updating & backups.
Next steps
- Reaching it from outside your home: Reverse proxy & HTTPS.
- Signing in with your organization's accounts: Single sign-on.
- Set up a backup before you add your whole library: Updating & backups.